Getting started with GIT – Part 2
Welcome to the part 2 of tutorial
getting started with git. In the part one we had a one text file in our project.
- So, let’s create some new files.

- Now enter the status command.

- You can see it says that you have untracked files. Here, untracked means we did not commit them, and git does not keep track on changes done to those files.
- So, in order git to keep track of our files we need to commit them. Earlier in the part 1, we add all the files using “git add .” command. Now we are going to add files one by one.

- Now let’s enter the status command.

- We still did not commit the "second.txt" file. So, you can see it is there in the changes to be committed area. That is the staging area. Staging area is a place between your working copy and the core repository. Whenever we execute the add command on a file, that file goes to the staging area. The staging area includes the files that are ready to get committed. Whenever you commit, those files go to the main repository.
- Now we are going to commit the files in the staging area using commit command and view the status.

- As you can see third.txt file that we still did not add to the repository. So, go ahead and add the third.txt file to the repository.

- We can verify our commits entering log command. It will display all the commits we have done so far.

Now we know how to add files. Let’s try editing files.
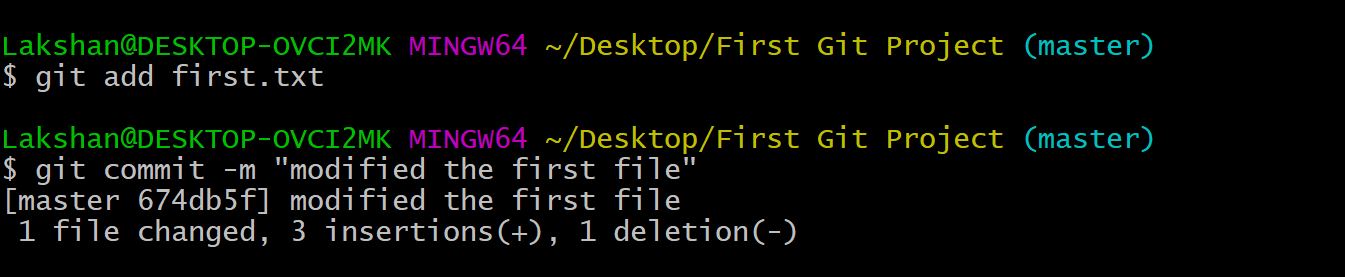
- Make some changes to the first.txt file.

- I am going to view status using status command.

- As you can see git has been recognized that we changed the file.
- Now we have to do is add and commit the modified file. You already know how to do this.
- Now we know how to edit files.
Let’s move on to view changes that you have made to the files.
- First, we are going to make some changes to a file.

- To view exact changes, we made to the file we use “git diff” command. This will very useful when we work with codes. We can know the exact changes we made and know how those changes affects the main project.
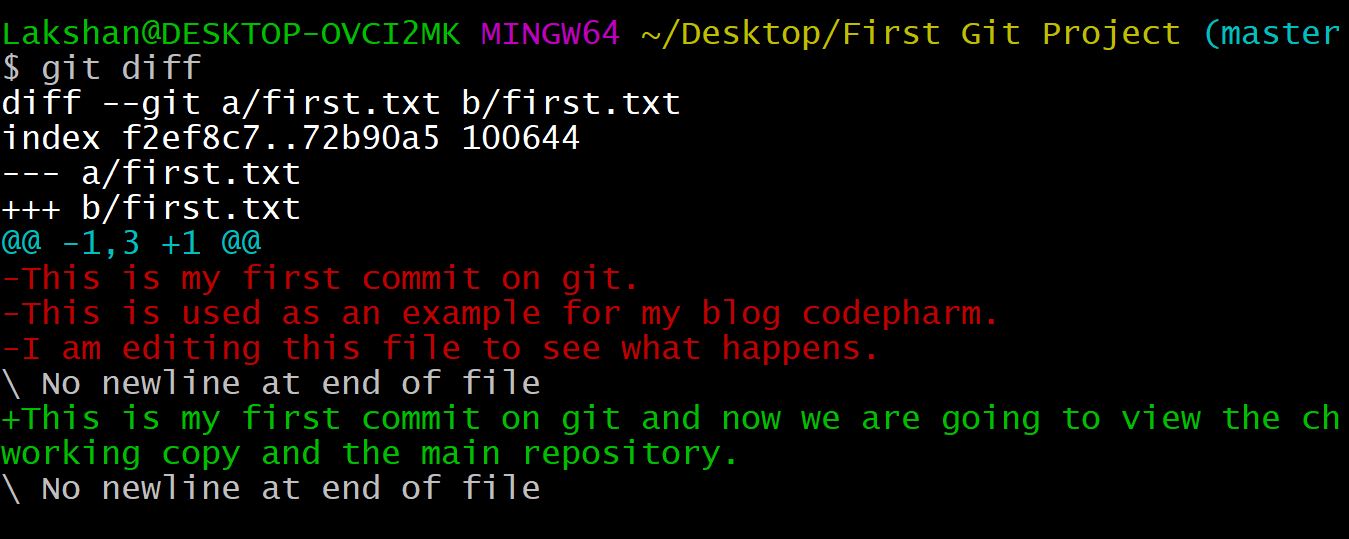
- Here the red colored text is in your main repository.
- Green colored text is the modifications we made in our local copy.

- Now we know how to compare our working copy and the main repository. Let’s add the files that we changed to staging area using “git add” command.

- Now try git diff command. You will notice nothing appears. That is because now contents in our working copy and the repository are same.
- But if you want to compare staging area with the main repository you can use “git diff –staged” command. This command compares our staging area with the main repository.

- Now go ahead and commit the file that you changed.
Okay, it is the end of part 2. We discussed some of the basic git commands in this tutorial.
See you soon with the part 3 of getting started with GIT tutorial.
Comments
Post a Comment