Getting started with GIT – Part 1
Lets setup git first.
- In simpler terms, GIT is a program that lets you to keep track of changes done to some files.
- First you should download and install git. You can visit the git website using this link https://git-scm.com/downloads.
- Select your operating system. It will start downloading git.
- Run the executable file you downloaded and install the software as any other software.
- Double click and start the git-bash.exe. You will see a command line interface.
Lets try some commands.
- First we are going to try a simple command git –version. This will give the git version you are using.

Setting up the account
- Before we set up and start our first git project, we should set our user name and email. It’s like creating an account. The reason that we need to do this is when you work with a team, every team member will make changes on the project. So, it’s better if we know who did what.So, let’s add our name.

- Here config means we are going to configure some settings. In this case our name.
- global means this user. To change our name put user.name and then put your name inside the quotation marks. So, it simply means change the name of this user.
- Changing email is just like changing the name.

- git config --list will list all your settings. You can see at the bottom we have name and email that we set earlier.

- You can view only one thing, not all the settings by giving the command git config and the setting you want to get.

- Now we have an account created.
Let’s create our first repository.
- Create a new folder and give it a name.
- We should tell git that our newly created folder is the one that we want our project(repository) to be. So, we should change our working directory.
- Use cd <your folder location>. cd simply means change directory.

- Now we are inside our folder.
- We can tell git to initialize a repository (Simply starting a git project) by typing git init command.

- As the next step add a text file to your project folder.

- Now we should tell git that we have made some changes to our project using add command.

- Here the period “.” means current folder. So, this command simply means add all changes that we made to this folder.
- Now we are going to do our first commit using commit command. Whenever you make a commit, simply you are saying to git to take a snapshot of the current status of the project. So, any time later you can come back to this saved point.
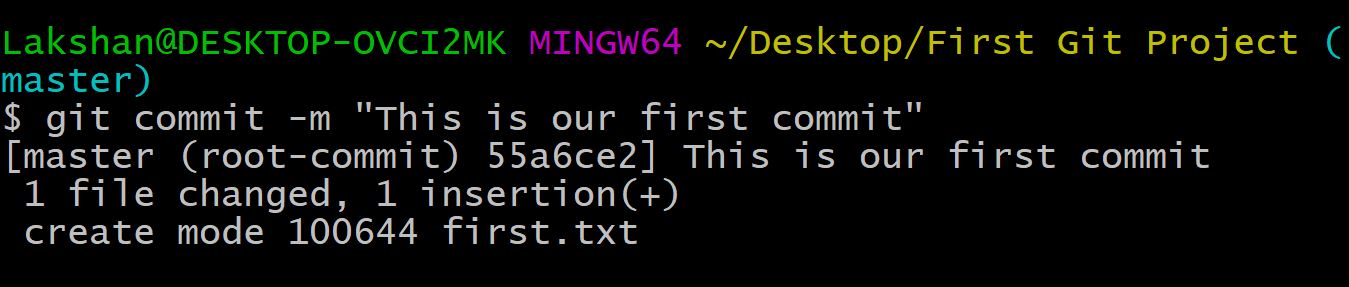
- -m allows us to set a message for our commit. In the message we simply enter brief explanation that describes our commit. So, then we can easily find what is this commit about.
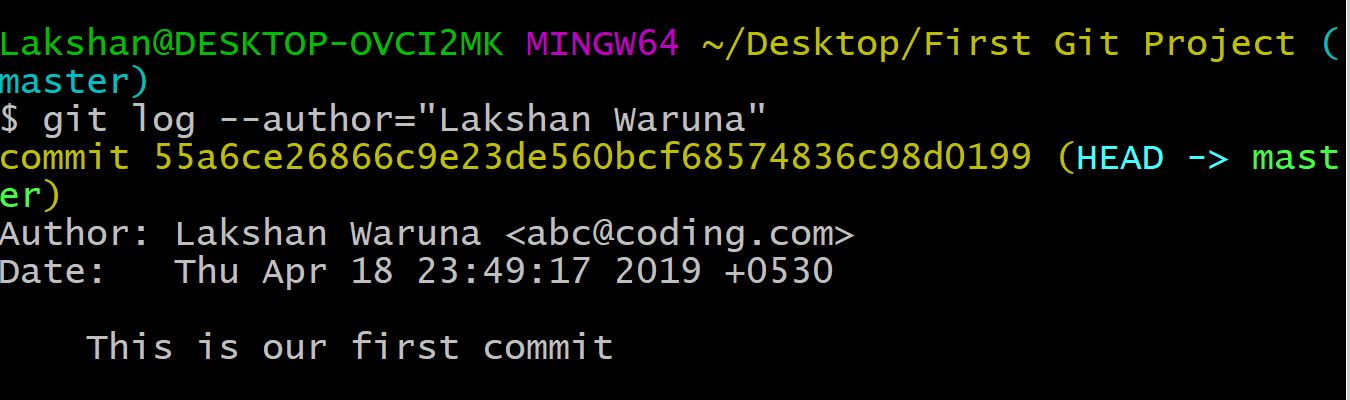
- Now we are going to view our commit history using log command.

- You can view commits only from a certain person.
- Now enter the command git status. It will say “nothing to commit, working directory clear”. What does this mean is that there are no files that you are working on, that git is not keeping track of. The git status command compares your repository which is the main project against working directory which have local copies that you are working on, and it tells you if there are any changes. In other words, if you created a file but you didn't commit it yet then it would give you an entirely different status.

I think this is enough for the part 1. I will continue the tutorial further in the part 2.
Thank you for being here and See you soon with part 2.
Comments
Post a Comment